Disclosure: UPLIFT Desk provided this desk at no cost for review. All opinions are my own. This post contains affiliate links.
The UPLIFT Parsons Standing Desk doesn't look like a standing desk. That's the entire point. Most standing desks announce themselves with visible frames, crossbars, and industrial lifting columns. The Parsons hides everything inside four tapered legs that could pass for mid-century modern furniture. When UPLIFT Desk offered to send one, I wanted to see if the design-first approach held up once I actually had to build and use it.
Short version: the Parsons looks incredible once it's together. Getting it there takes more work than you'd expect.
Best for: Buyers who want a standing desk that looks like real furniture
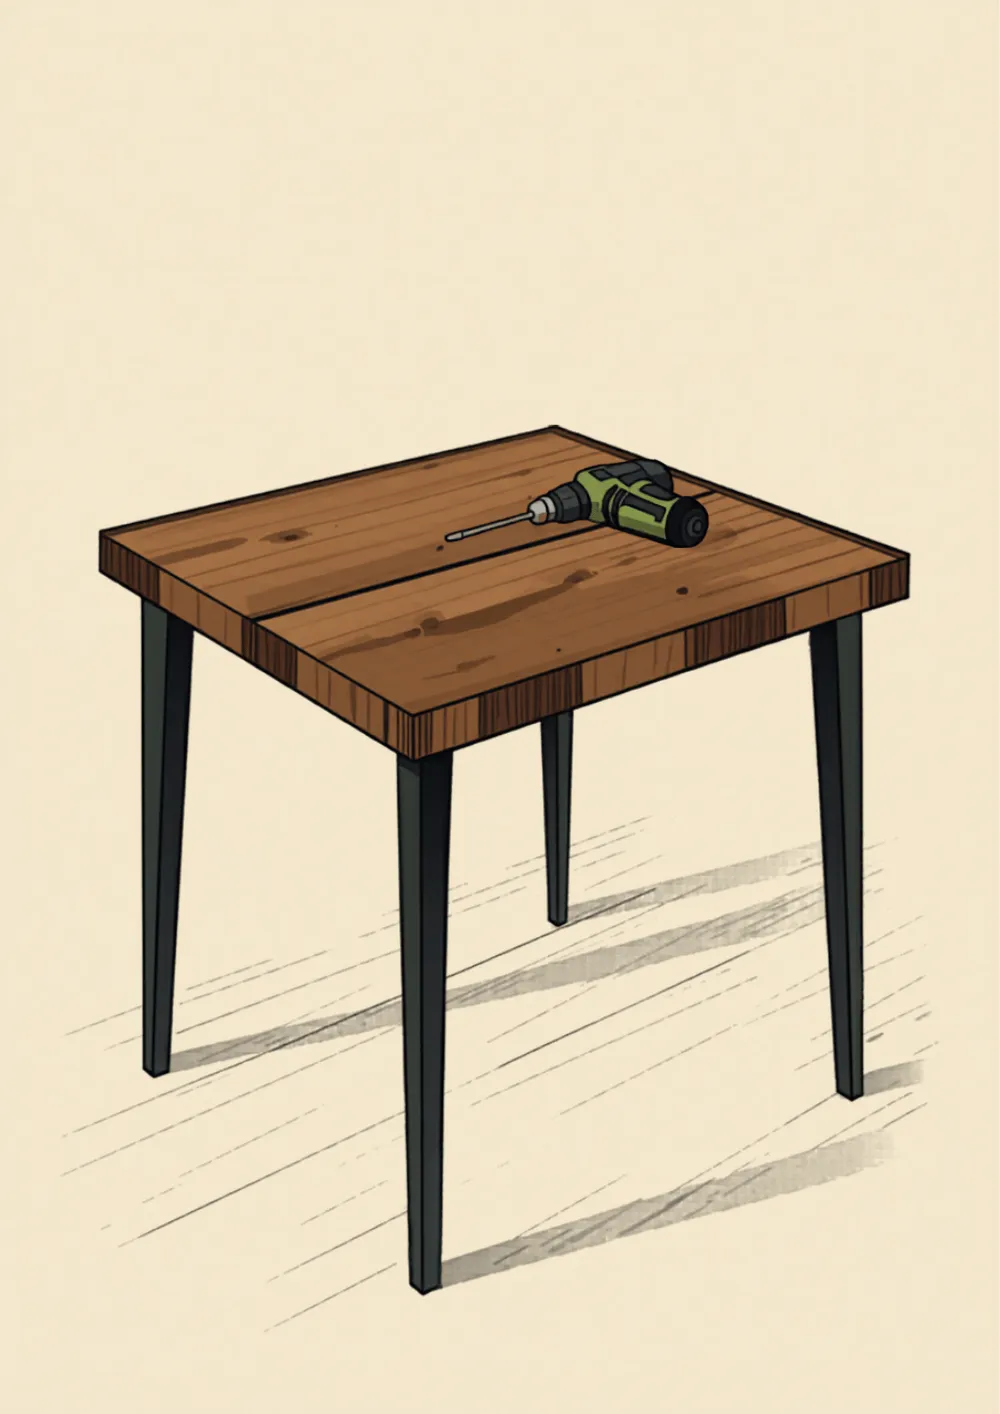
The trade-off: Assembly is more involved than most standing desks. You'll need a drill, and there are significantly more cables to route
Worth knowing: The Parsons frame sits flush to the desktop edge, which limits where you can mount clamp-on accessories

What Arrived
Three boxes showed up:
- UPLIFT Parsons Standing Desk Frame (black, with 30" and 60" rail sets)
- Acacia Butcher Block Desktop (60" x 30", with grommets)
- Assembly hardware, keypad, and manual
I configured mine with the Acacia Butcher Block desktop upgrade, which is a solid wood option. UPLIFT offers several desktop choices for the Parsons, so what you get will depend on your configuration.
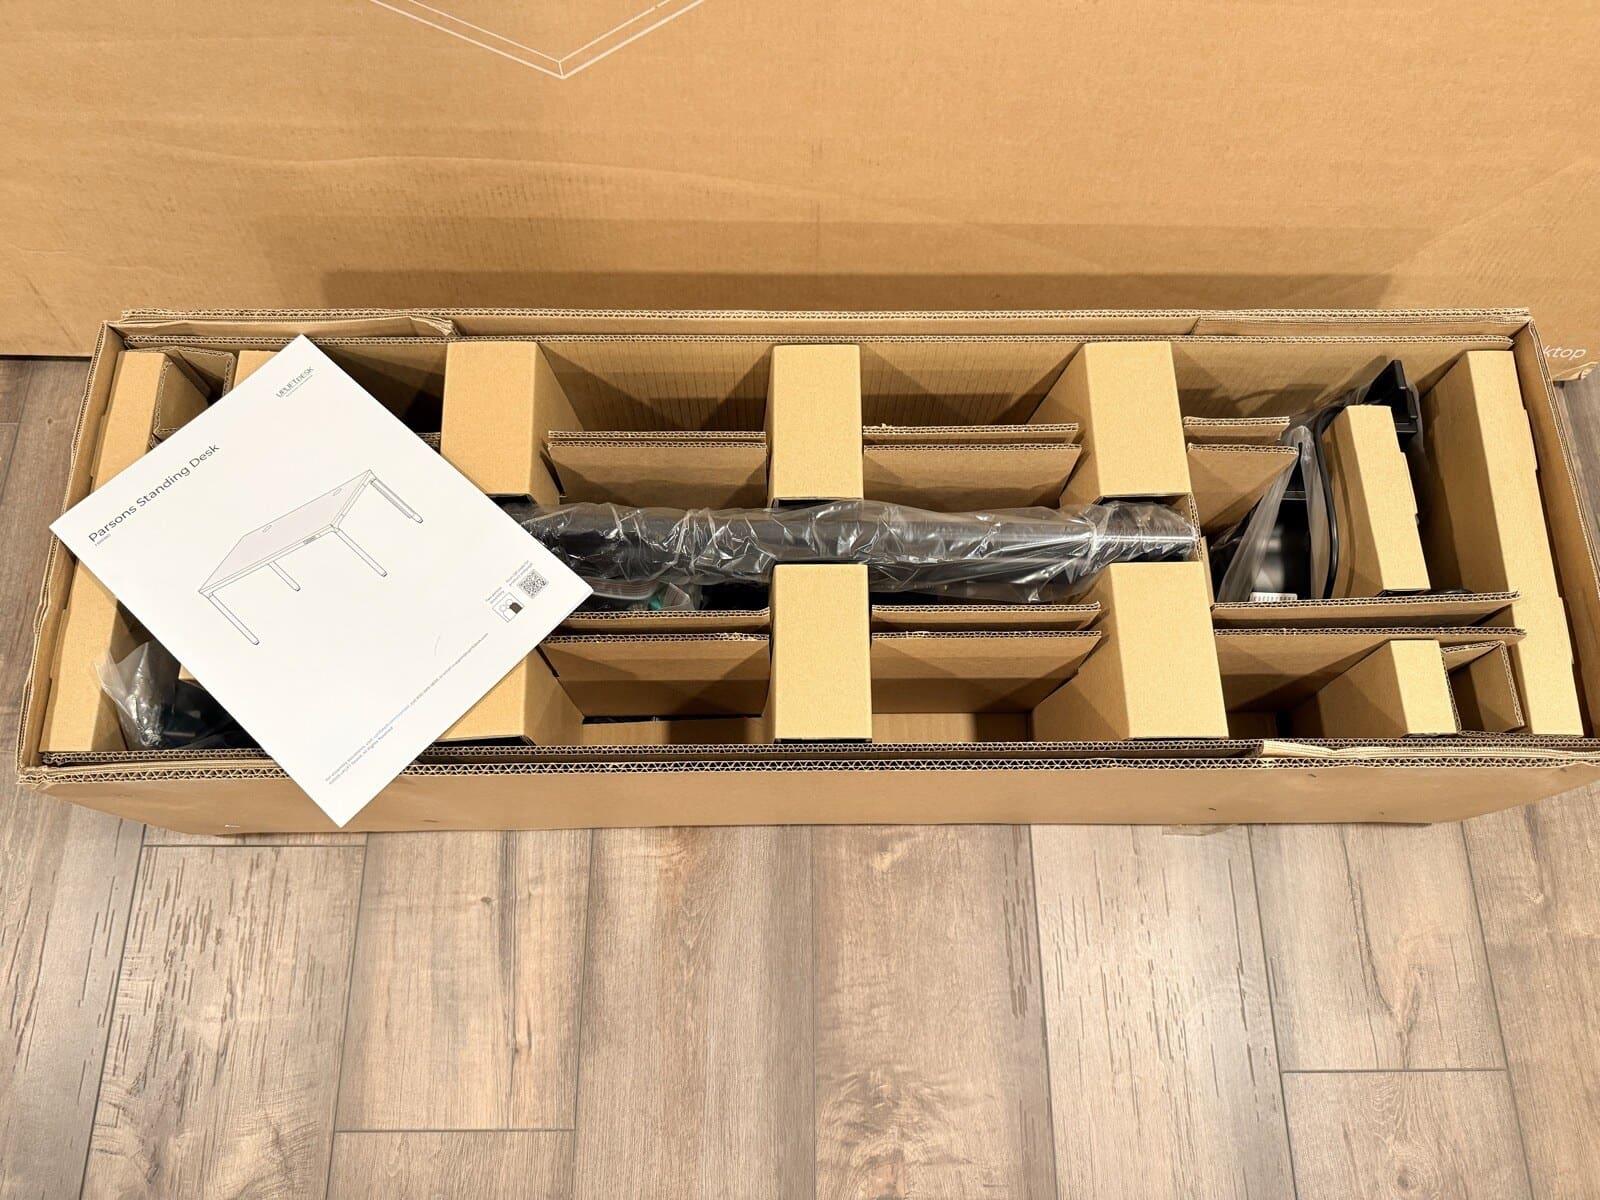
Unboxing the Parsons Frame
The frame box was well organized. Manual on top, all parts nested in cardboard dividers underneath. Everything had its place.
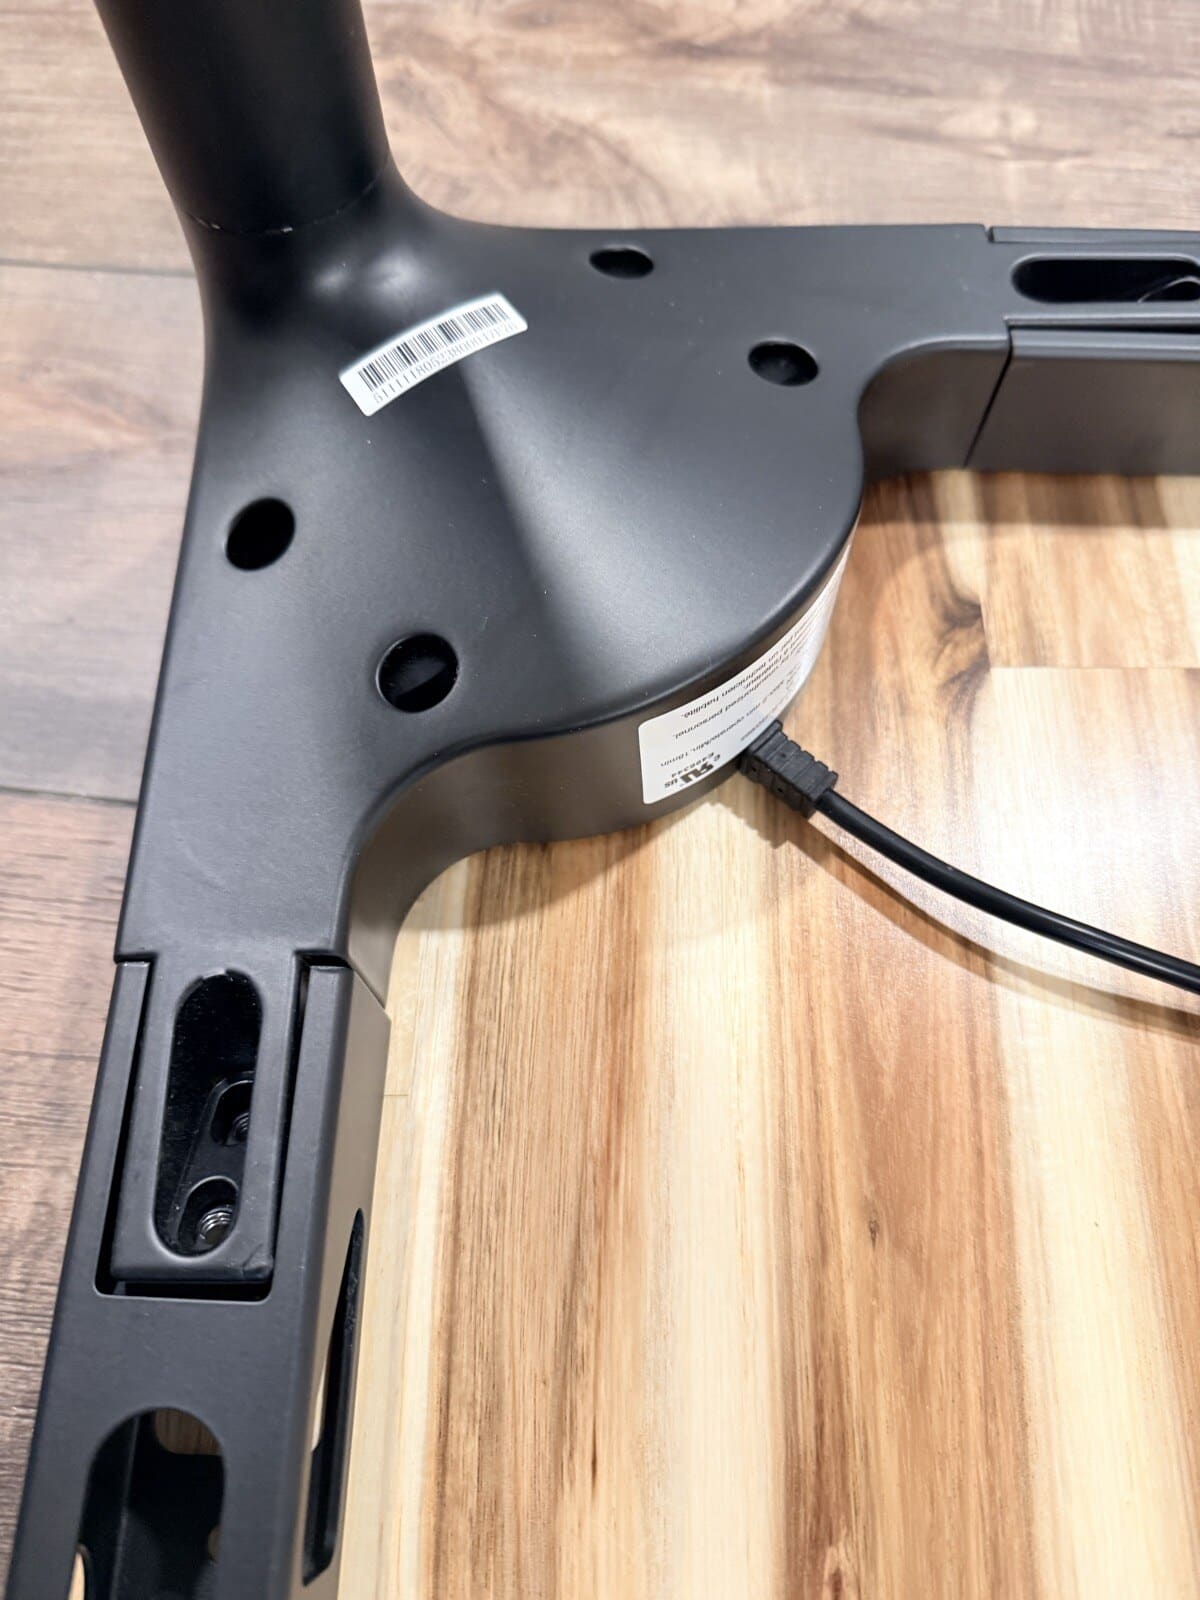
I pulled everything out and laid it on the floor to get a sense of what I was working with. Four legs, two rail sets (30" and 60"), the keypad, control box, power supply, and several bags of hardware. The frame itself is sleek. Smooth matte black finish with clean edges. You can tell the design team put thought into this. There are no exposed welds or rough spots anywhere.
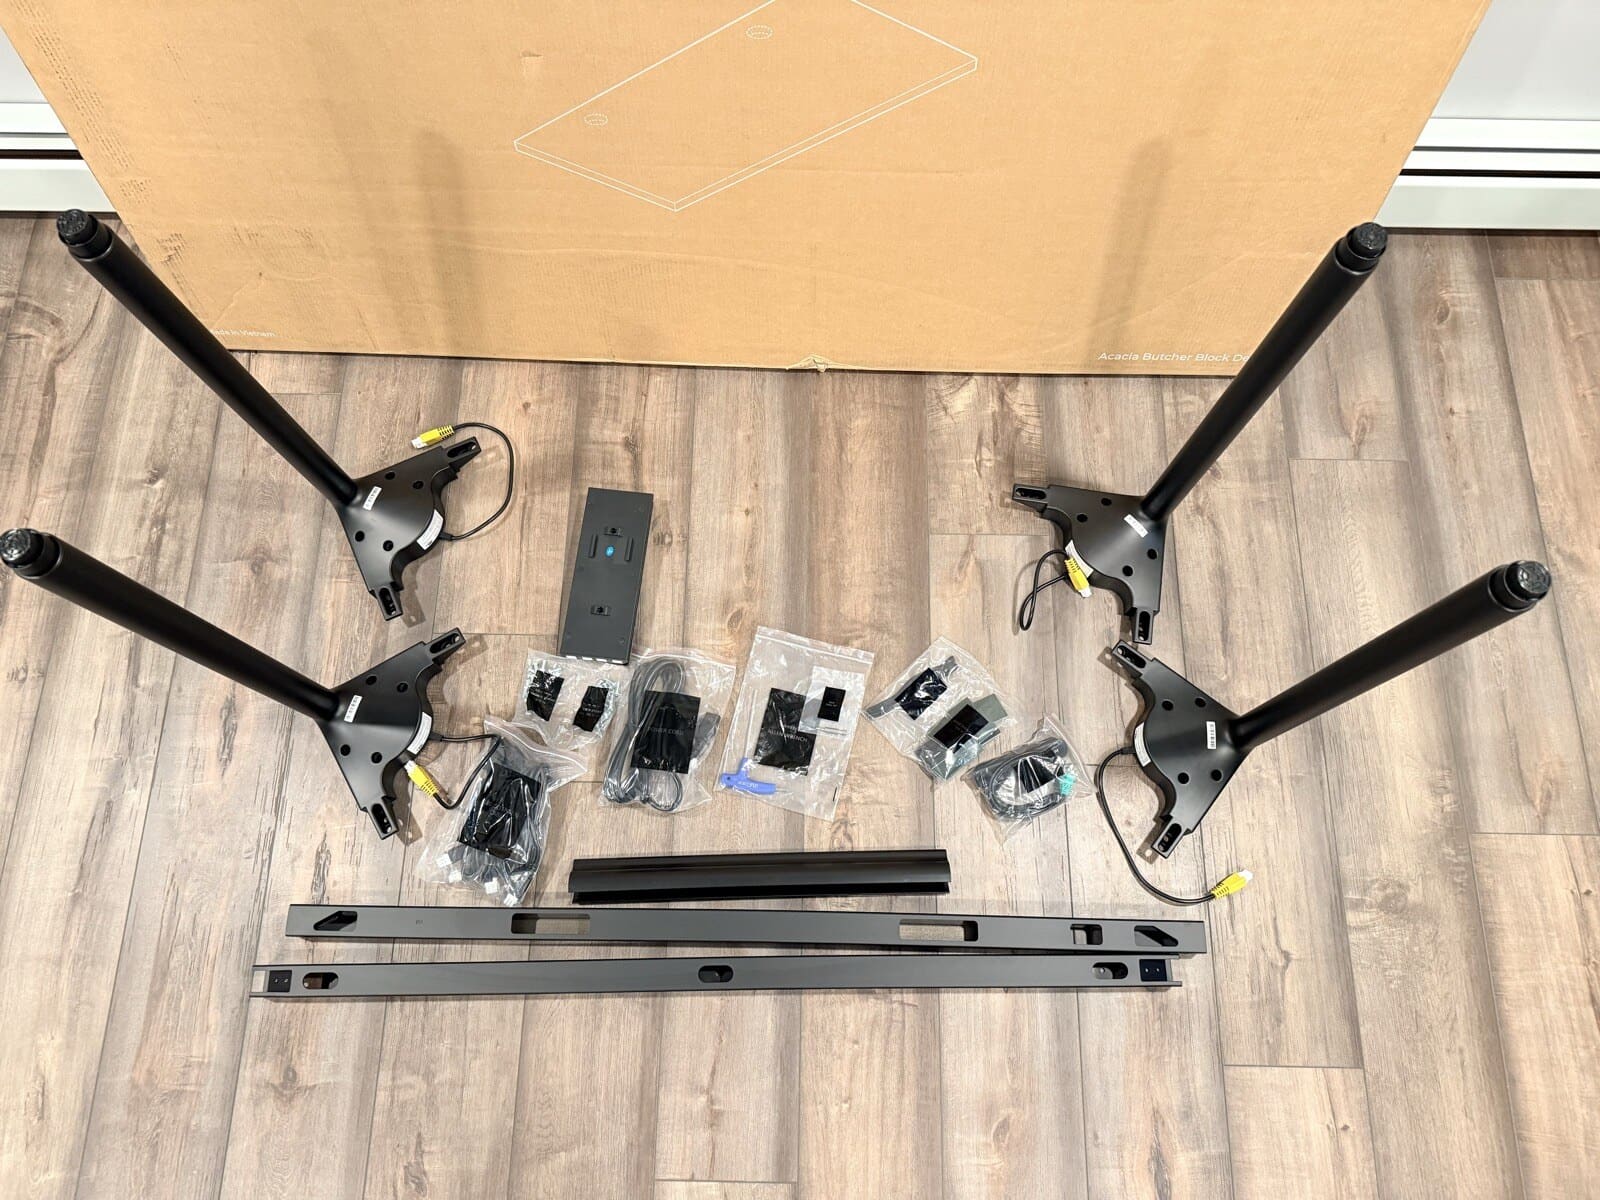
The legs stood out immediately. They're thin, almost delicate looking, with a taper that gives them a furniture quality I haven't seen on any other standing desk. At full standing height, they're designed to be discrete and give you a lot of open space underneath.
My Desktop Configuration: Acacia Butcher Block
I went with the Acacia Butcher Block in 60" x 30" with grommets. This is an upgrade from the standard desktop options, so keep in mind that your configuration may differ.
When I pulled it out of the box, the first thing I noticed was the weight. This is solid wood, and it feels like it. If you're going with one of the butcher block options, plan on having a second person to help carry it.
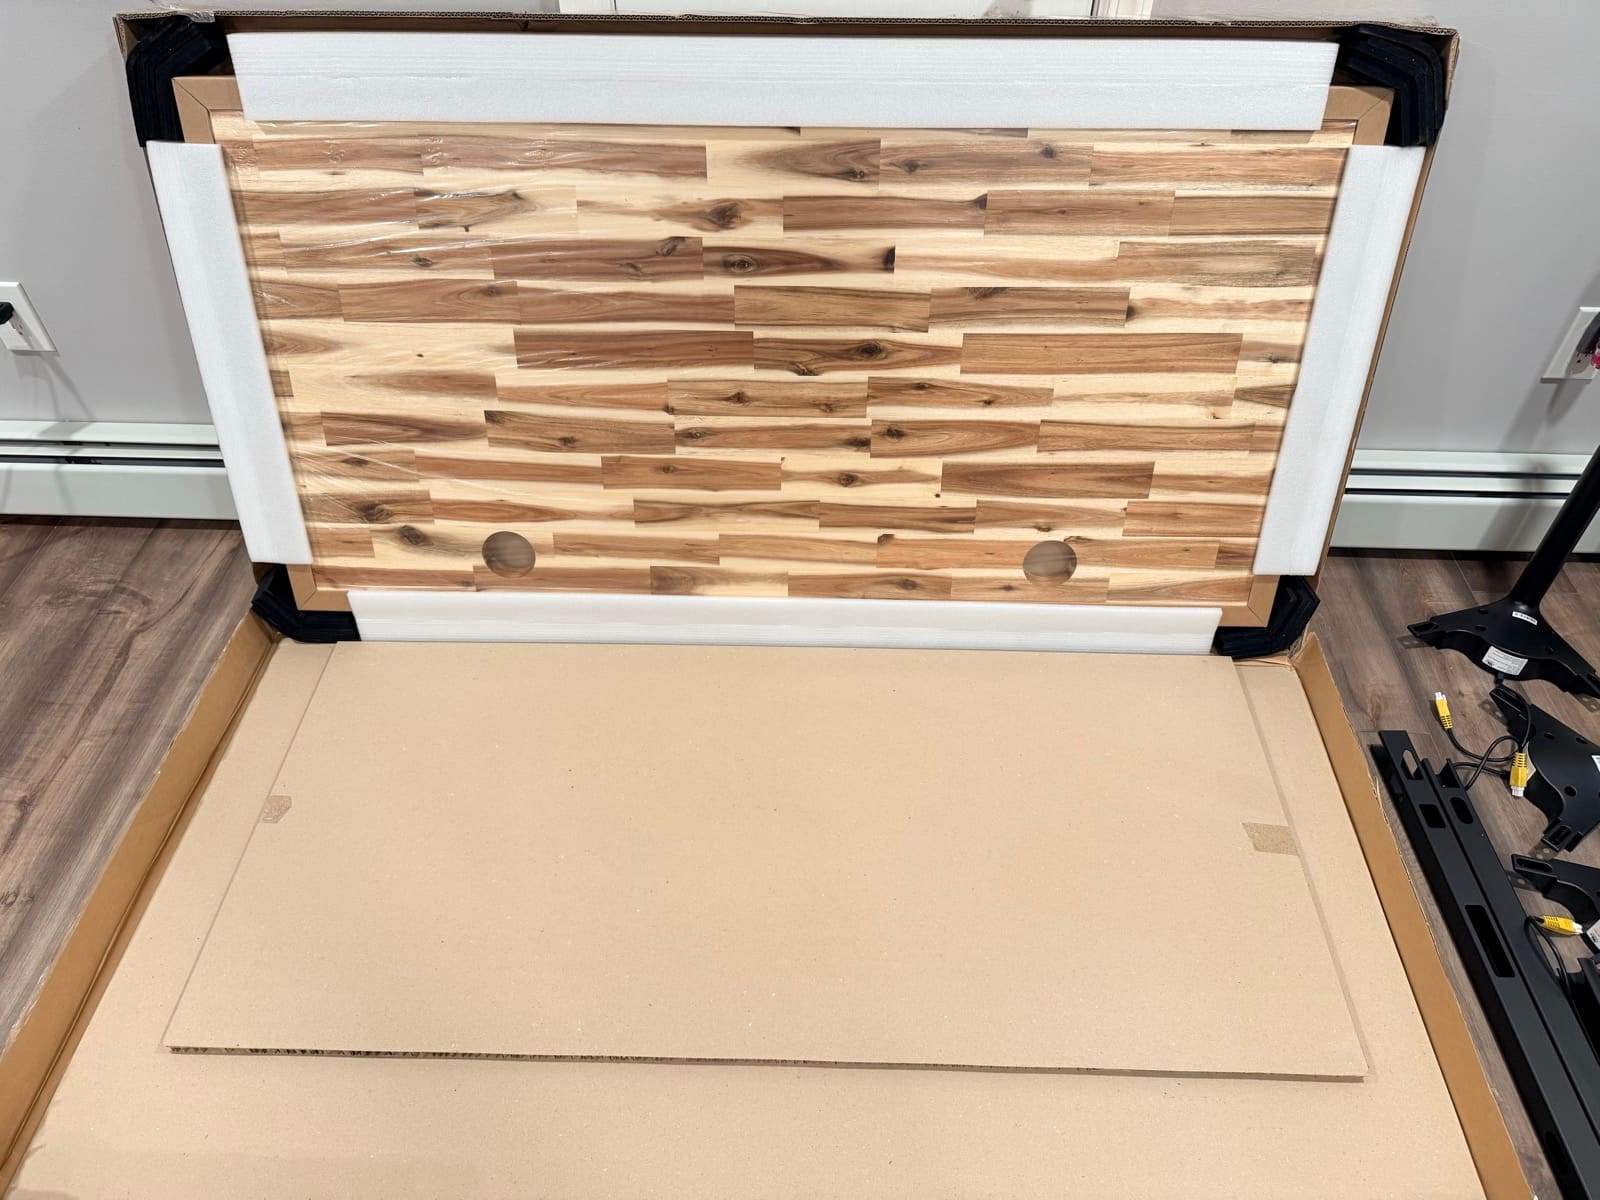
The grain is something you can't appreciate from product photos. Every piece of acacia has different color variation, from light blonde strips to dark walnut tones, all running together in a natural pattern. No two desktops will look the same. Mine has a couple of knots and mineral streaks that give it character.

The two grommet holes are pre-drilled and positioned for cable routing. They're clean cuts that don't feel like afterthoughts.
Assembly: Plan for Extra Time
This is where the Parsons surprised me. I'll admit that the UPLIFT V3 spoiled me. That desk went together in minutes with 16 screws and almost no wiring. I walked into the Parsons build expecting something similar, and it's not.
First, you'll need a drill. The frame attaches to the desktop with screws that require pilot holes, and those holes aren't pre-drilled. If you don't own a drill, this could catch you off guard. I didn't notice anything on the product page calling out the drill requirement, though I may have missed it. Either way, if you're ordering this desk for delivery day assembly, make sure you have a drill ready.
I flipped the desktop upside down on the floor and started mounting the frame. The legs bolt onto the rail sets, and the rail sets attach to the desktop.
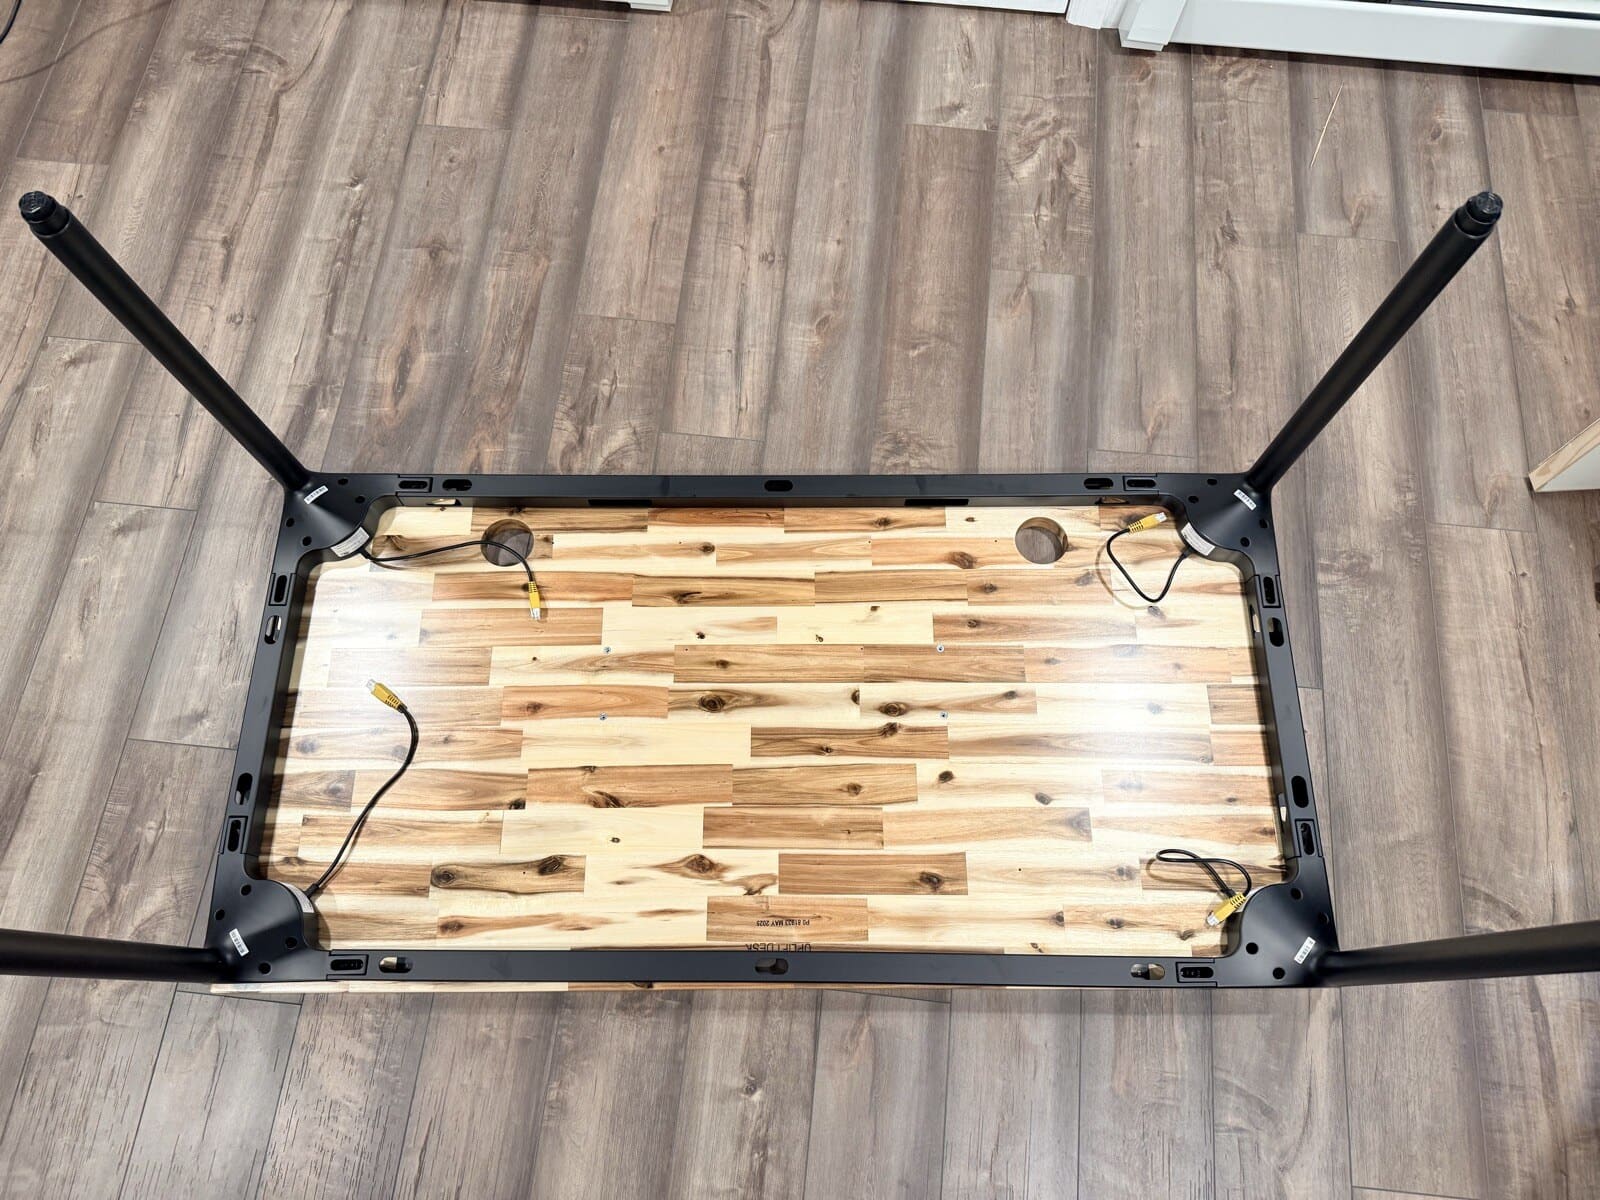
One thing to watch for: pay close attention to the frame orientation in the manual before you drill. I mounted the frame, drilled my pilot holes, got everything tightened down, and then realized the frame was backwards. It's an easy mistake because the frame looks nearly identical from either direction. I had to pull the screws, reposition, and drill new holes. Not a disaster, but an extra 15 minutes I didn't need to spend. Read the directions twice.
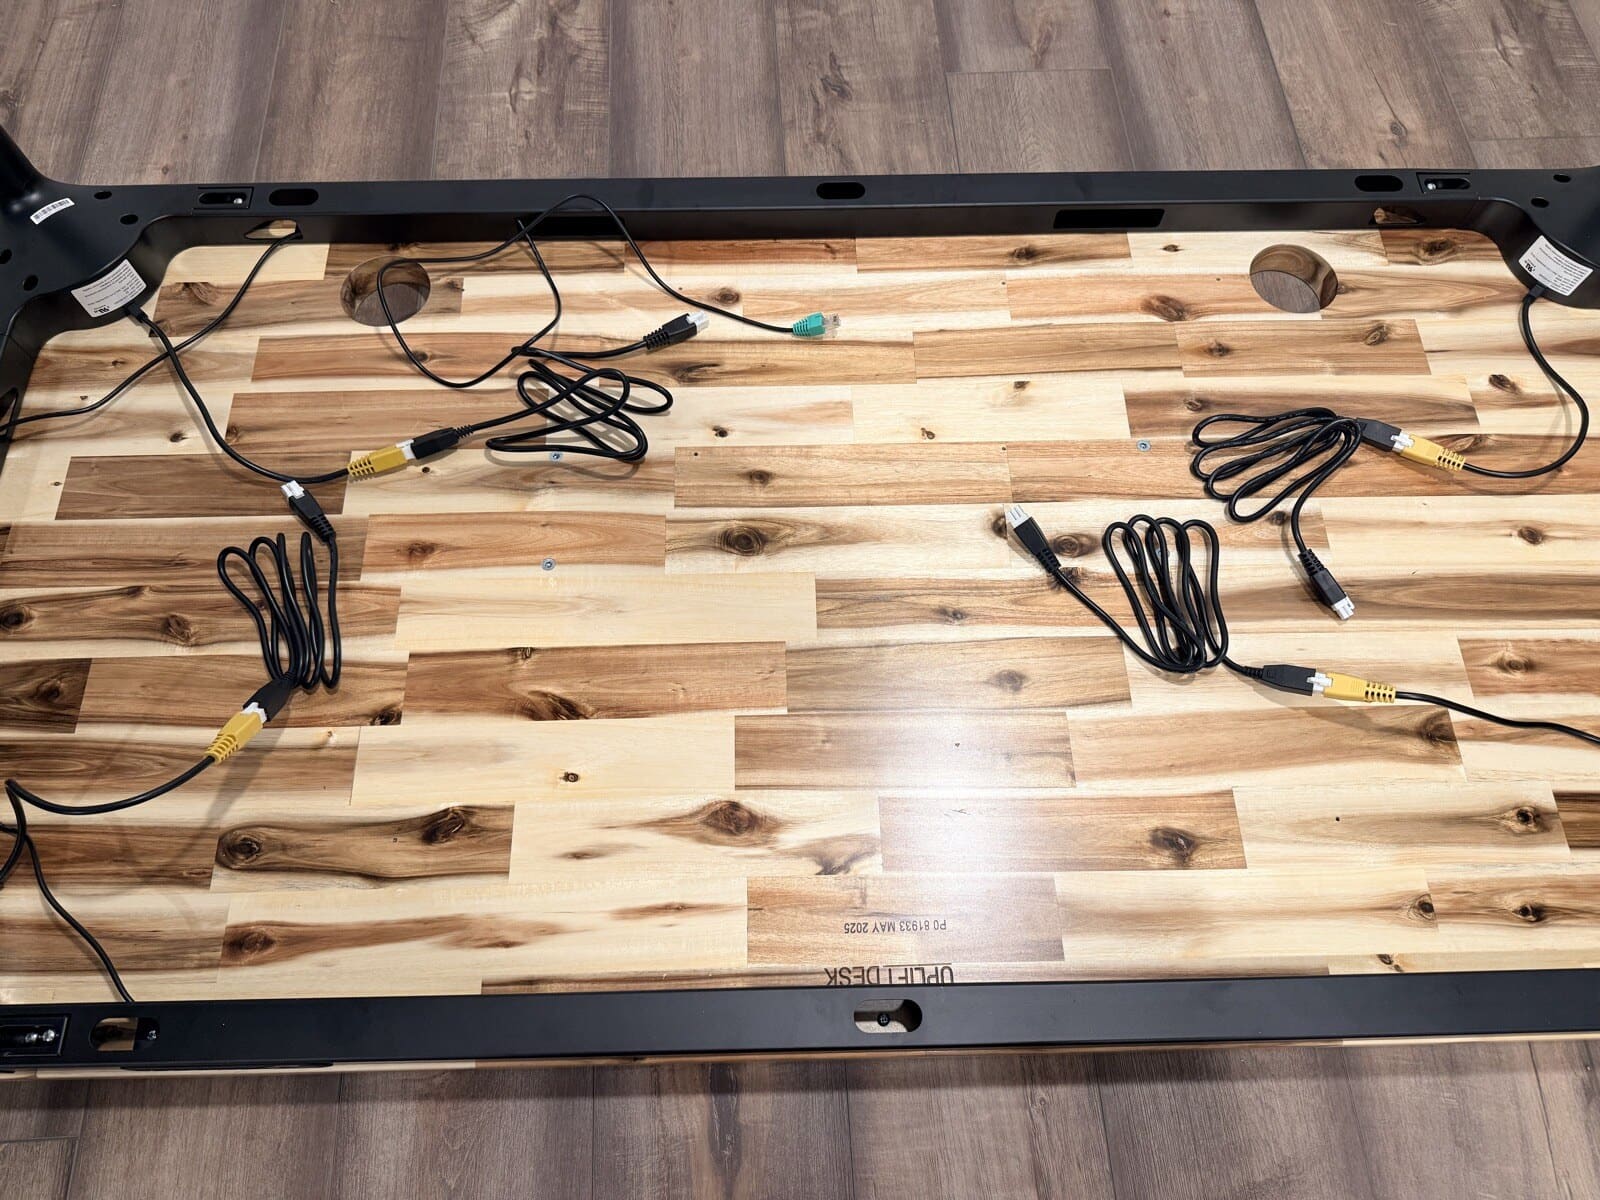
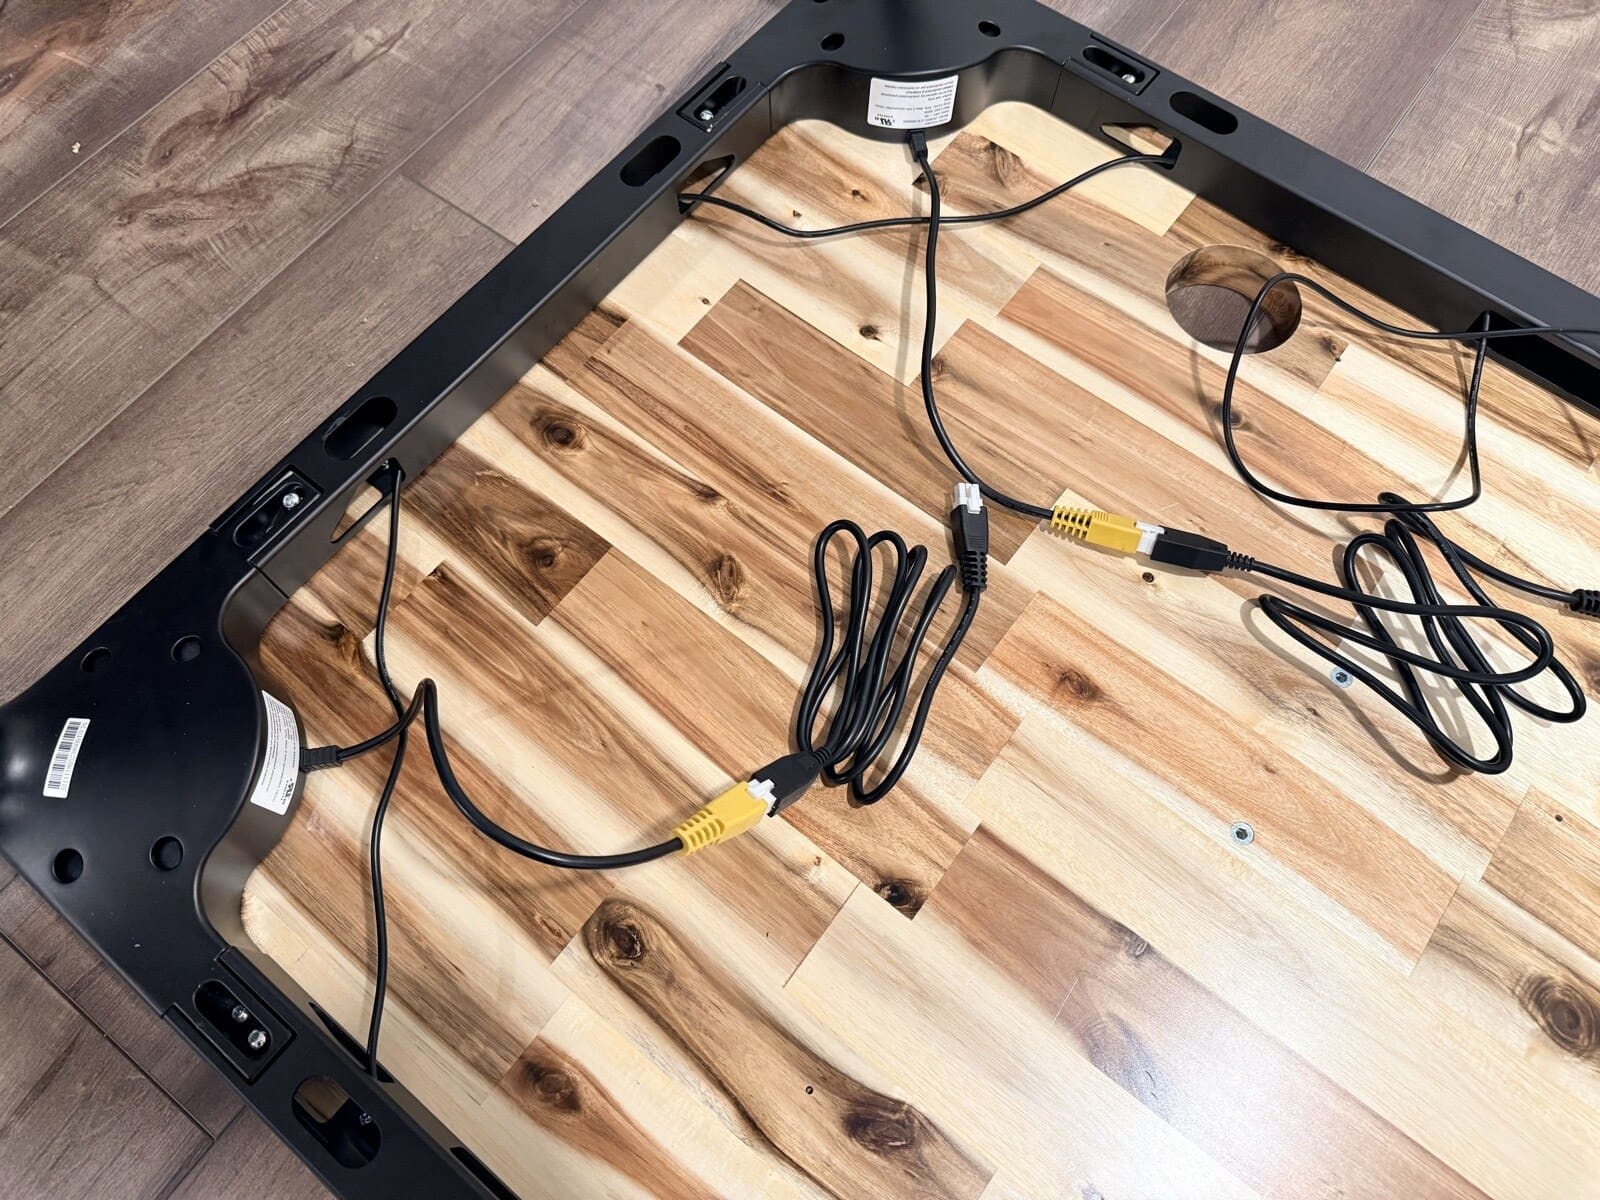
Then there are the cables. Each leg motor has its own cable running to the control box, plus the keypad cable, plus the power supply. When I flipped the desk over to start connecting everything, my first thought was "holy wires." It took real effort to get everything routed cleanly and connected to the right ports.
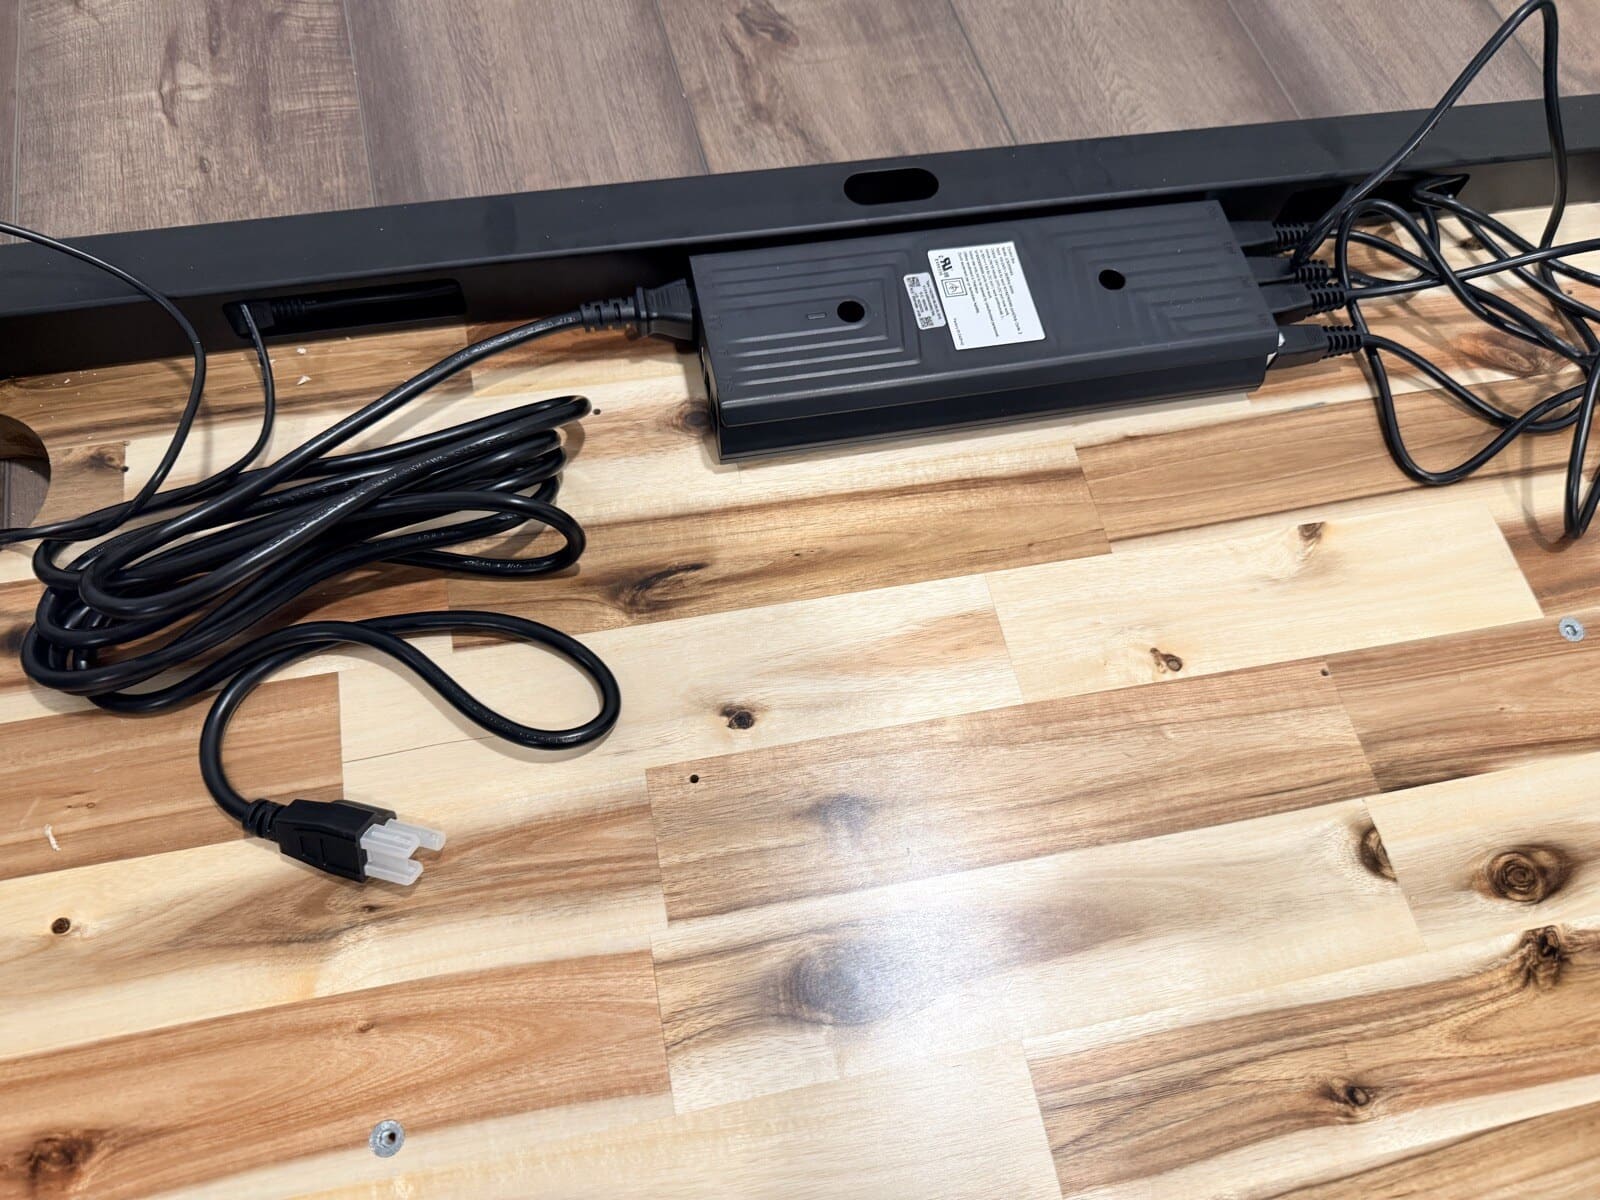
The power supply mounts to the crossbar underneath the desktop. It's a standard brick-style adapter with a long power cord.
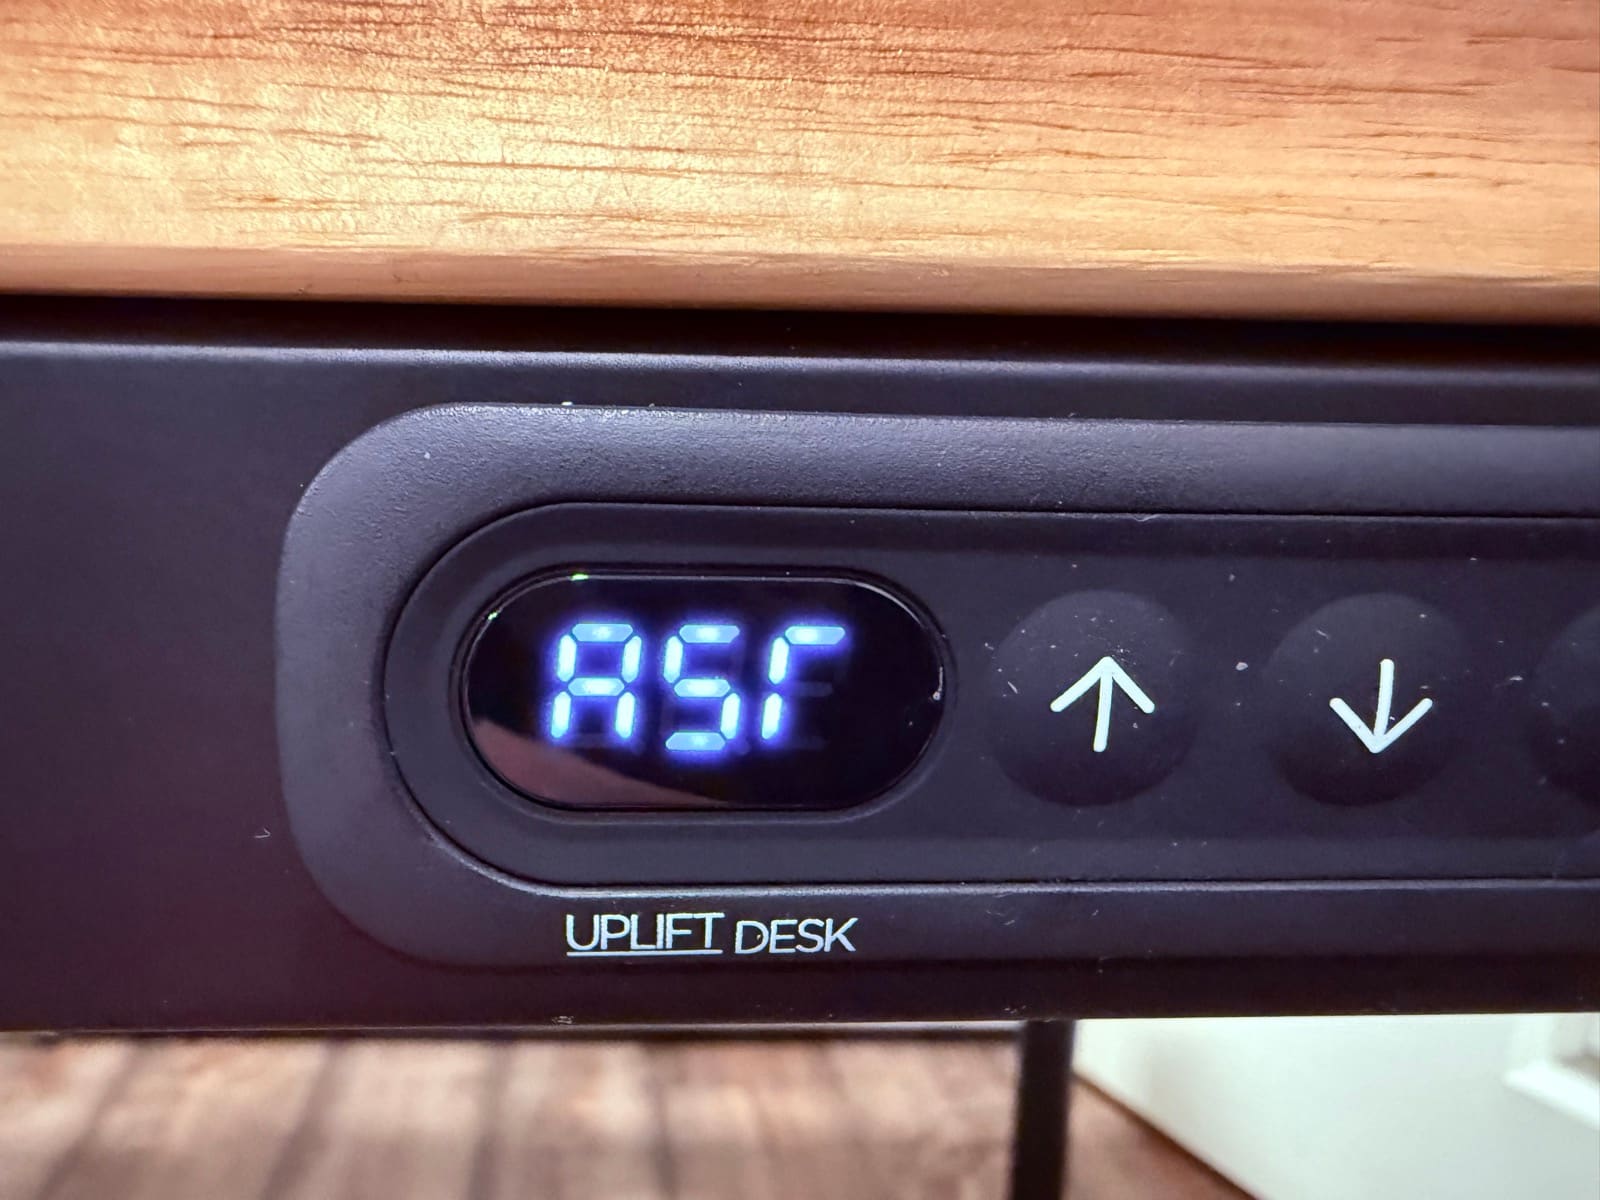
Once all the cables were connected, I followed the manual for the desk reset procedure. You hold the down button until the display shows "ASF," then hold it again until the desk lowers, rises slightly, and stops. After that, the display shows the actual height and you're ready to go.
The Parsons Leg Design: What You're Paying For
This is the reason the Parsons exists. The frame hides the entire lifting mechanism inside four tapered legs. From the front, the side, any angle, you don't see a C-frame, crossbar, or any of the industrial hardware that gives away a traditional standing desk. It looks like a table.
If your desk sits in a living room, a shared space, or anywhere visible to guests, the Parsons makes a difference. Most standing desks are designed for dedicated offices where aesthetics take a back seat to function. The Parsons is designed for spaces where the desk needs to look like furniture.
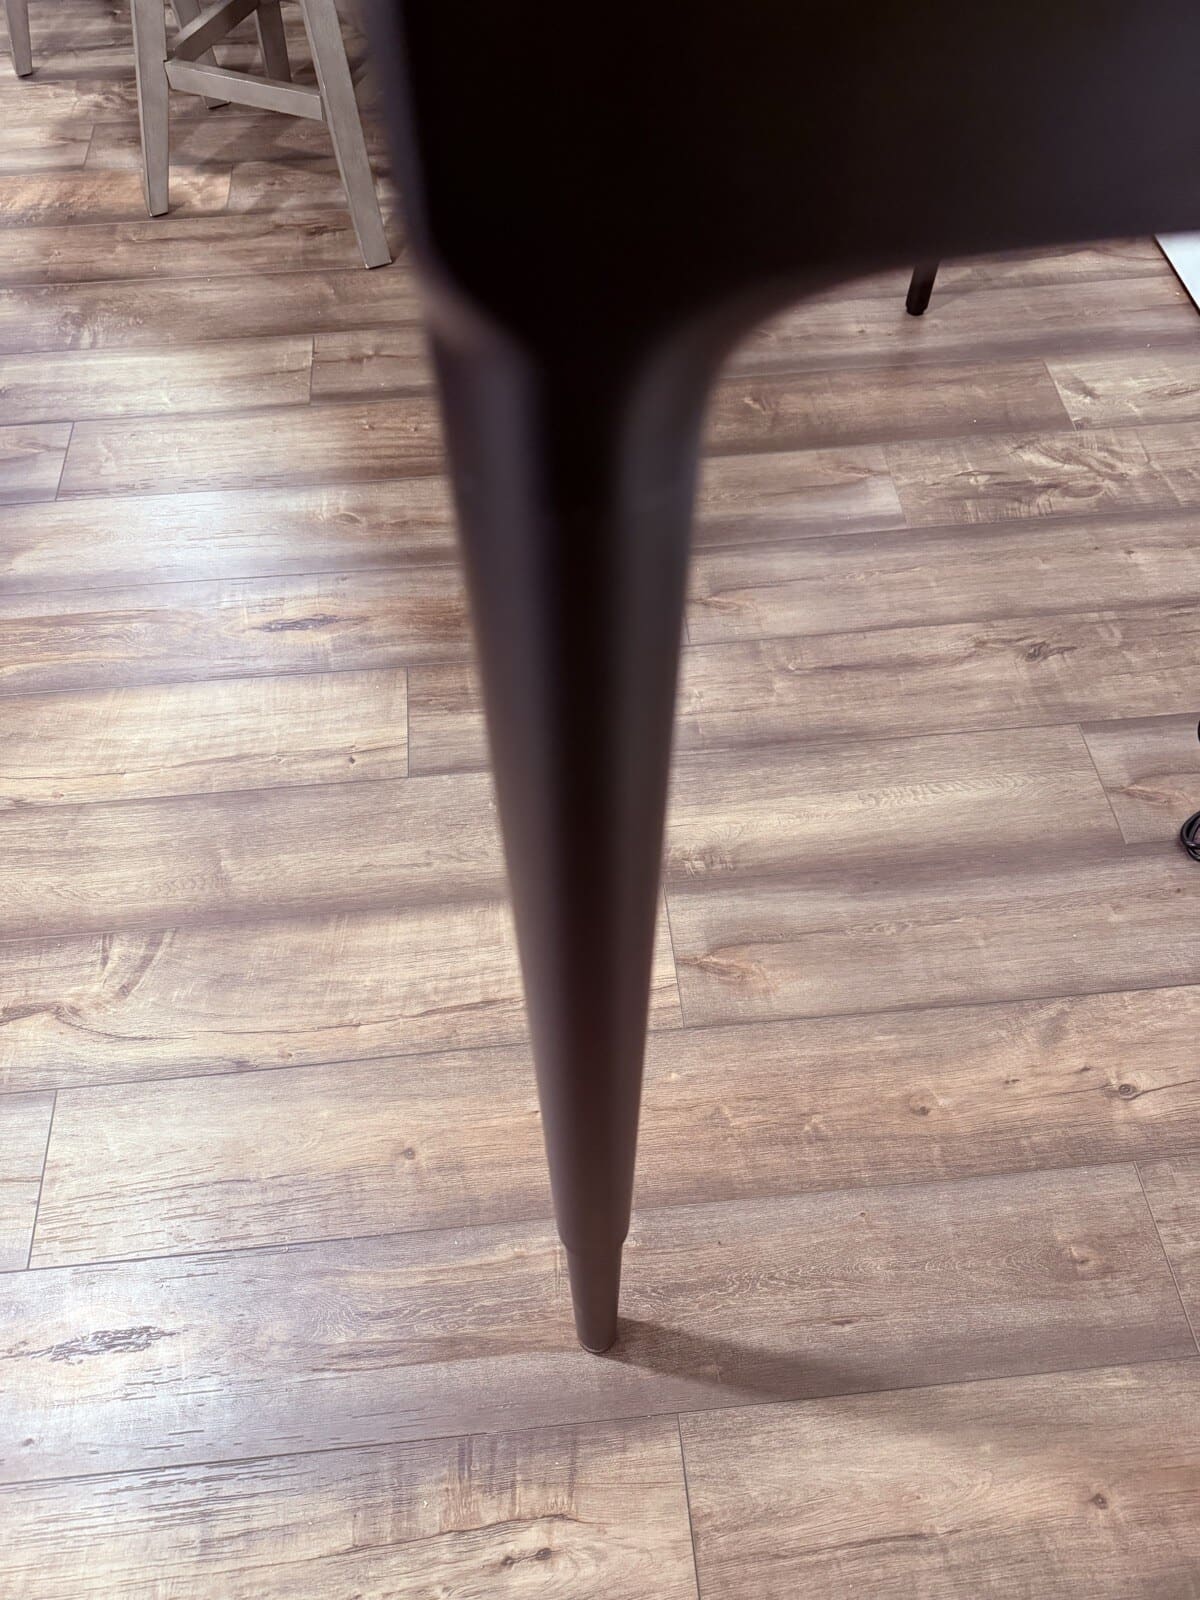
Here's the Parsons leg next to my UPLIFT V3 for reference. The difference speaks for itself.
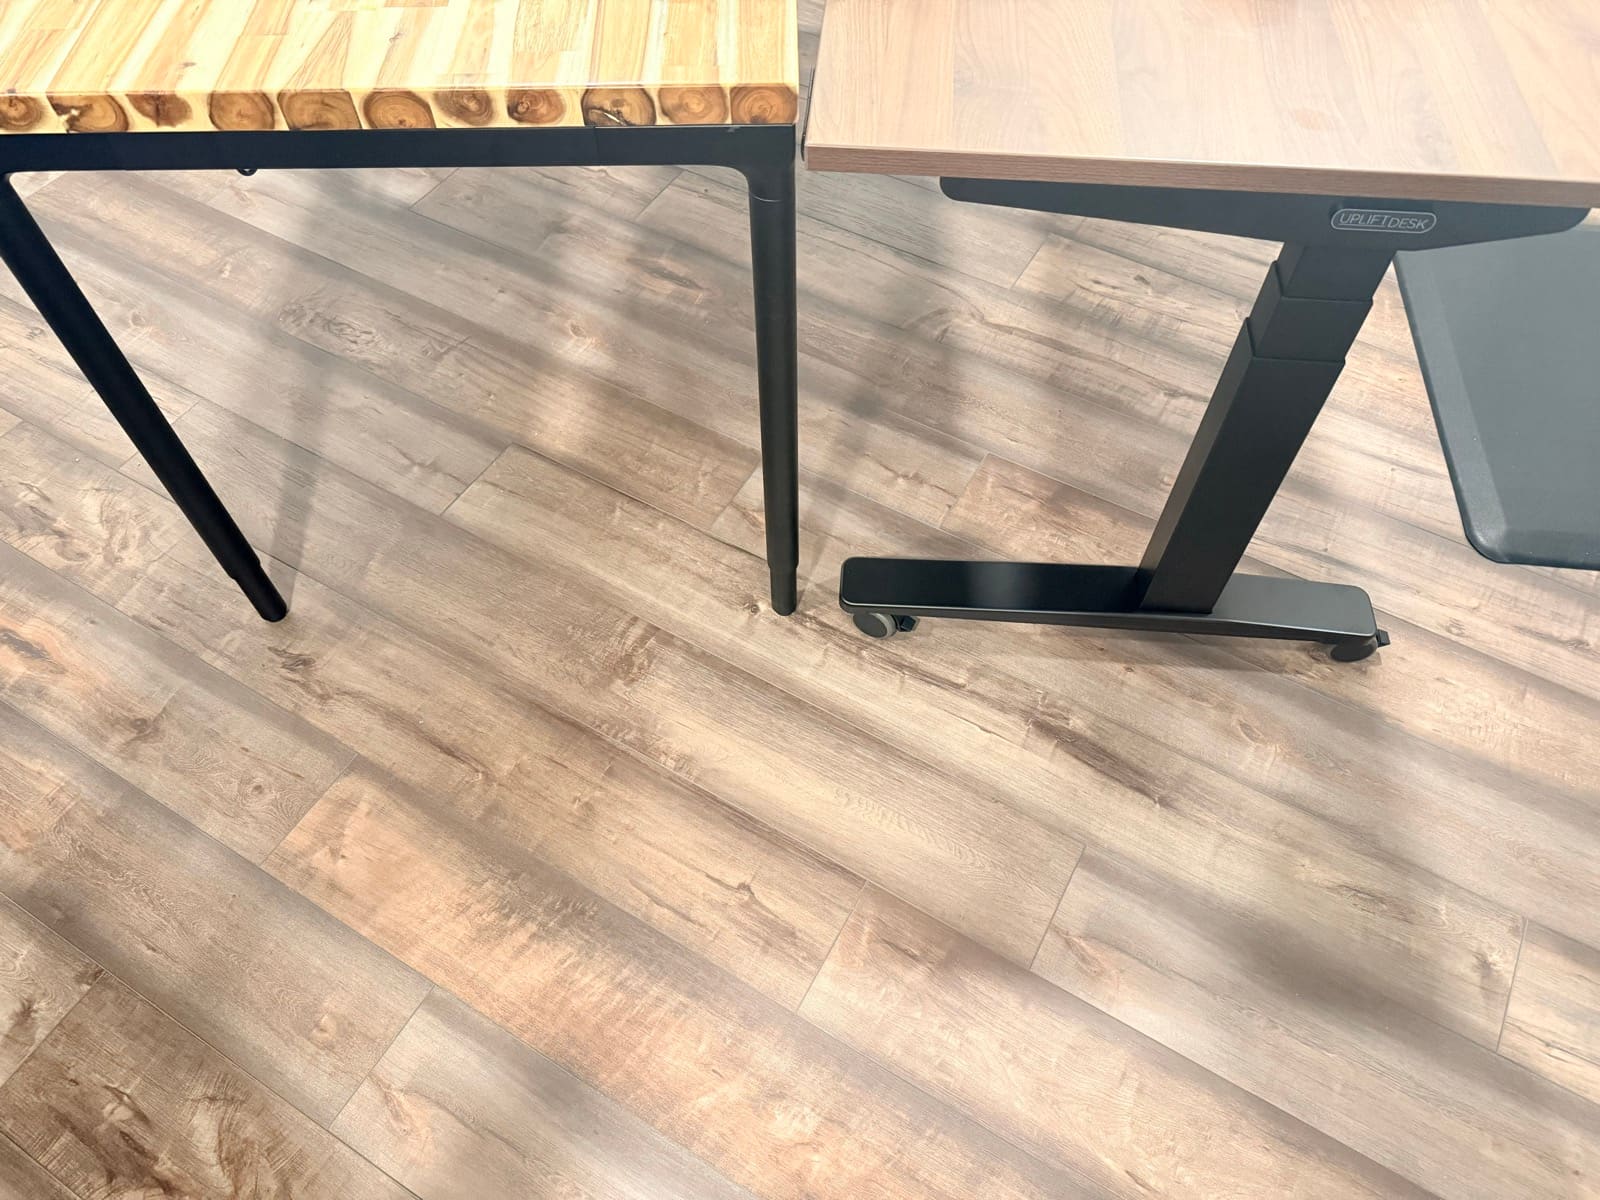
The legs are thin enough that you get plenty of open space underneath, especially at standing height. There's room for a chair, a walking pad, storage, whatever you need. The taper gives them a mid-century modern feel that works with most room styles.
The open leg structure also means people can sit around all four sides of the desk without a crossbar or C-frame blocking their knees. UPLIFT actually markets the 80" version as a collaborative conference table for up to eight people. Raise it to standing height and you've got a standup meeting table that encourages shorter, more focused sessions. It's a use case that wouldn't work with a traditional standing desk frame.
One Trade-Off: Accessory Clearance
The Parsons frame sits flush right to the desktop edge. That means clamp-on accessories like bottle openers, headphone hooks, and under-desk hooks don't have the same mounting clearance you'd get with a traditional standing desk frame. Anything that needs to clamp onto the underside of the desktop near the edge will either sit further back or won't fit at all. If you rely on clamp-on accessories, check the clearance before you buy.
First Impressions
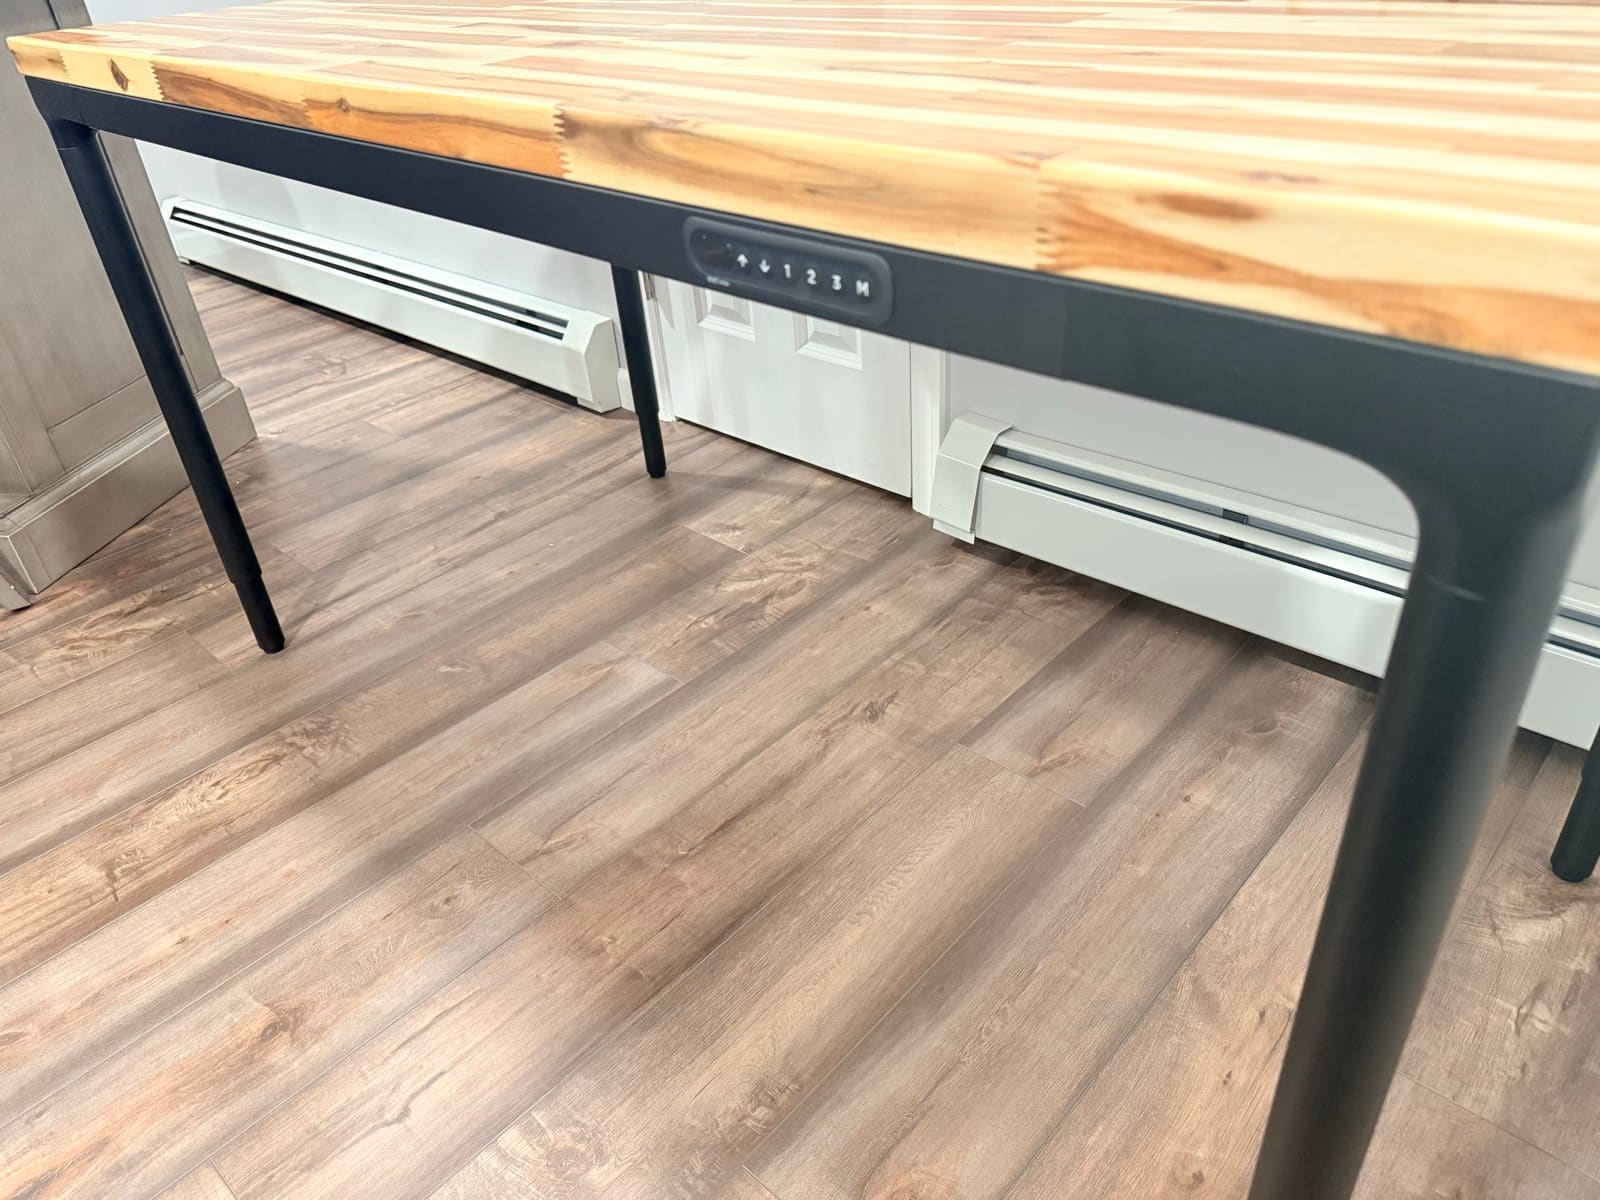
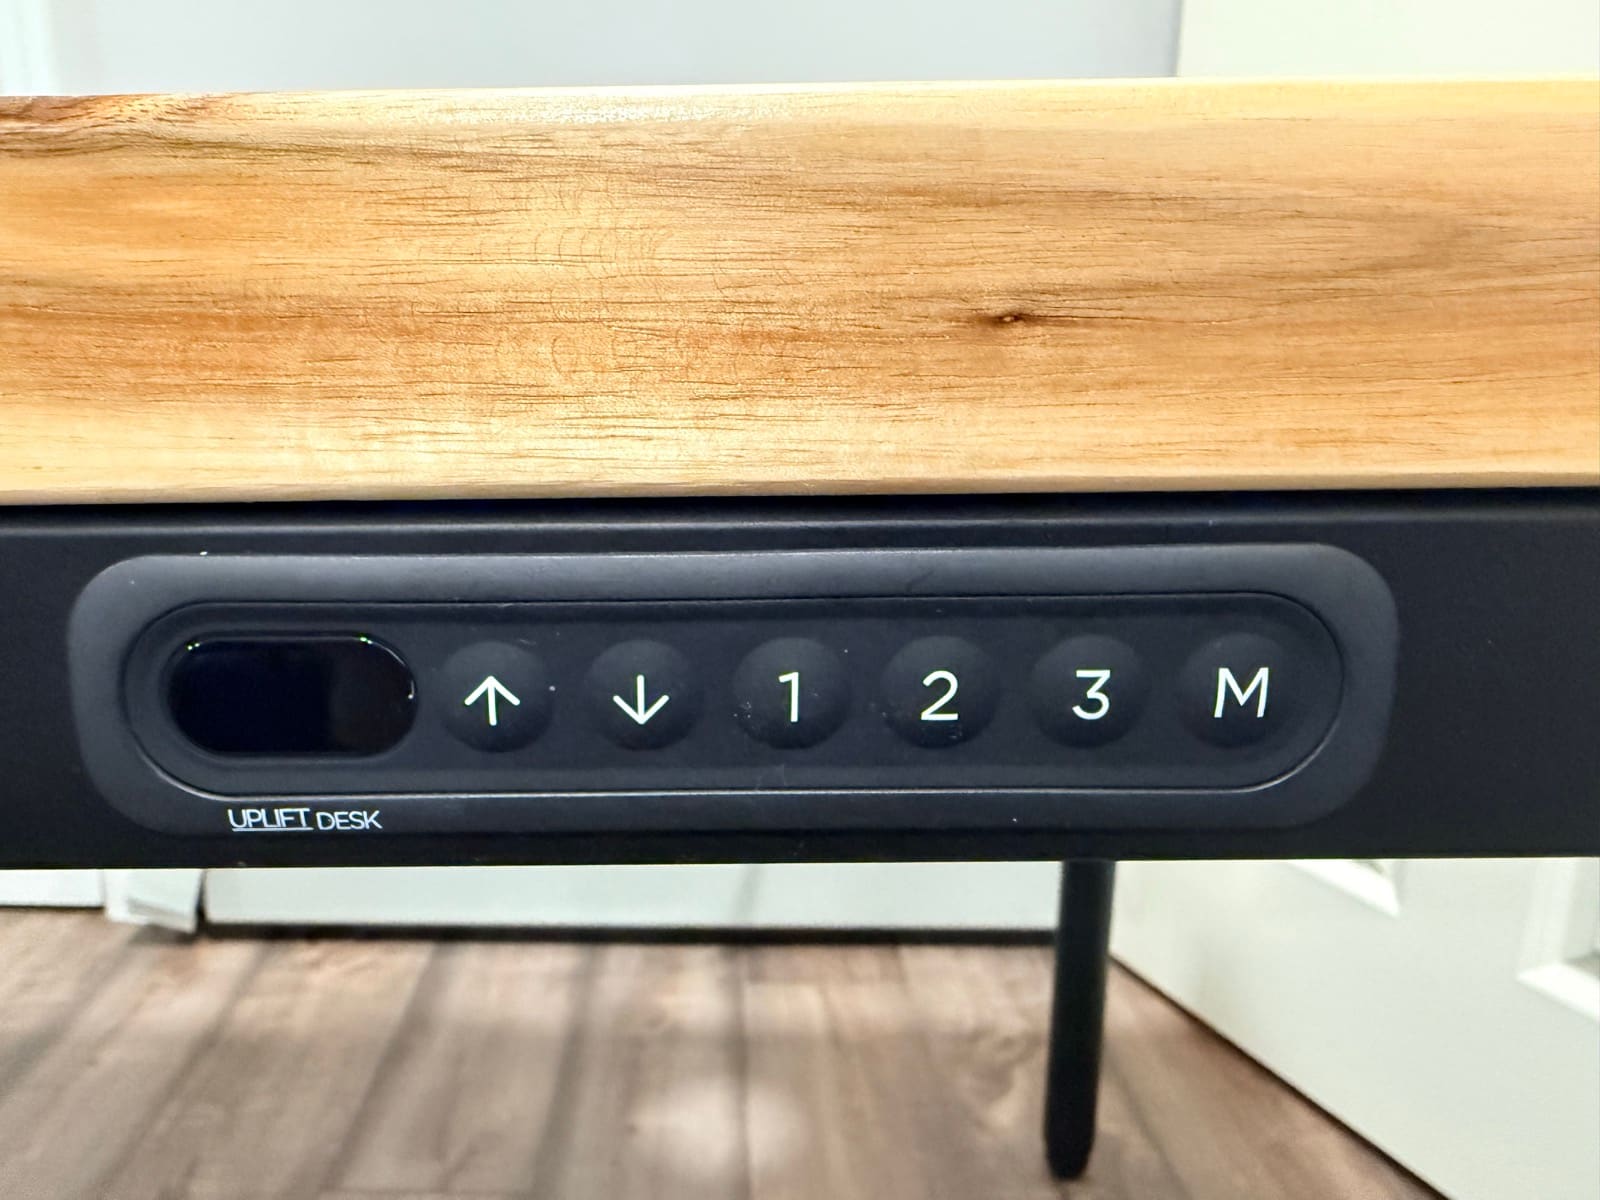
Once the Parsons was upright and powered on, I could see why this desk is popular. The frame disappears behind the legs. The keypad with 3 memory presets sits flush against the front apron. It's a standing desk that you don't have to explain to visitors.
The assembly is the trade-off. Between the drill requirement, the cable routing, and my frame orientation mistake, it took me noticeably longer than I expected. If you have a drill and read the manual carefully, you'll be fine. Just plan for the extra time.
I'll be using this desk daily over the next few weeks and will follow up with a full review covering stability testing, motor noise at different loads, and how the desktop holds up to everyday use.
Key Specs
| Spec | Value |
|---|---|
| Price | Starting at $829+ |
| Frame Style | Parsons (hidden mechanism inside tapered legs) |
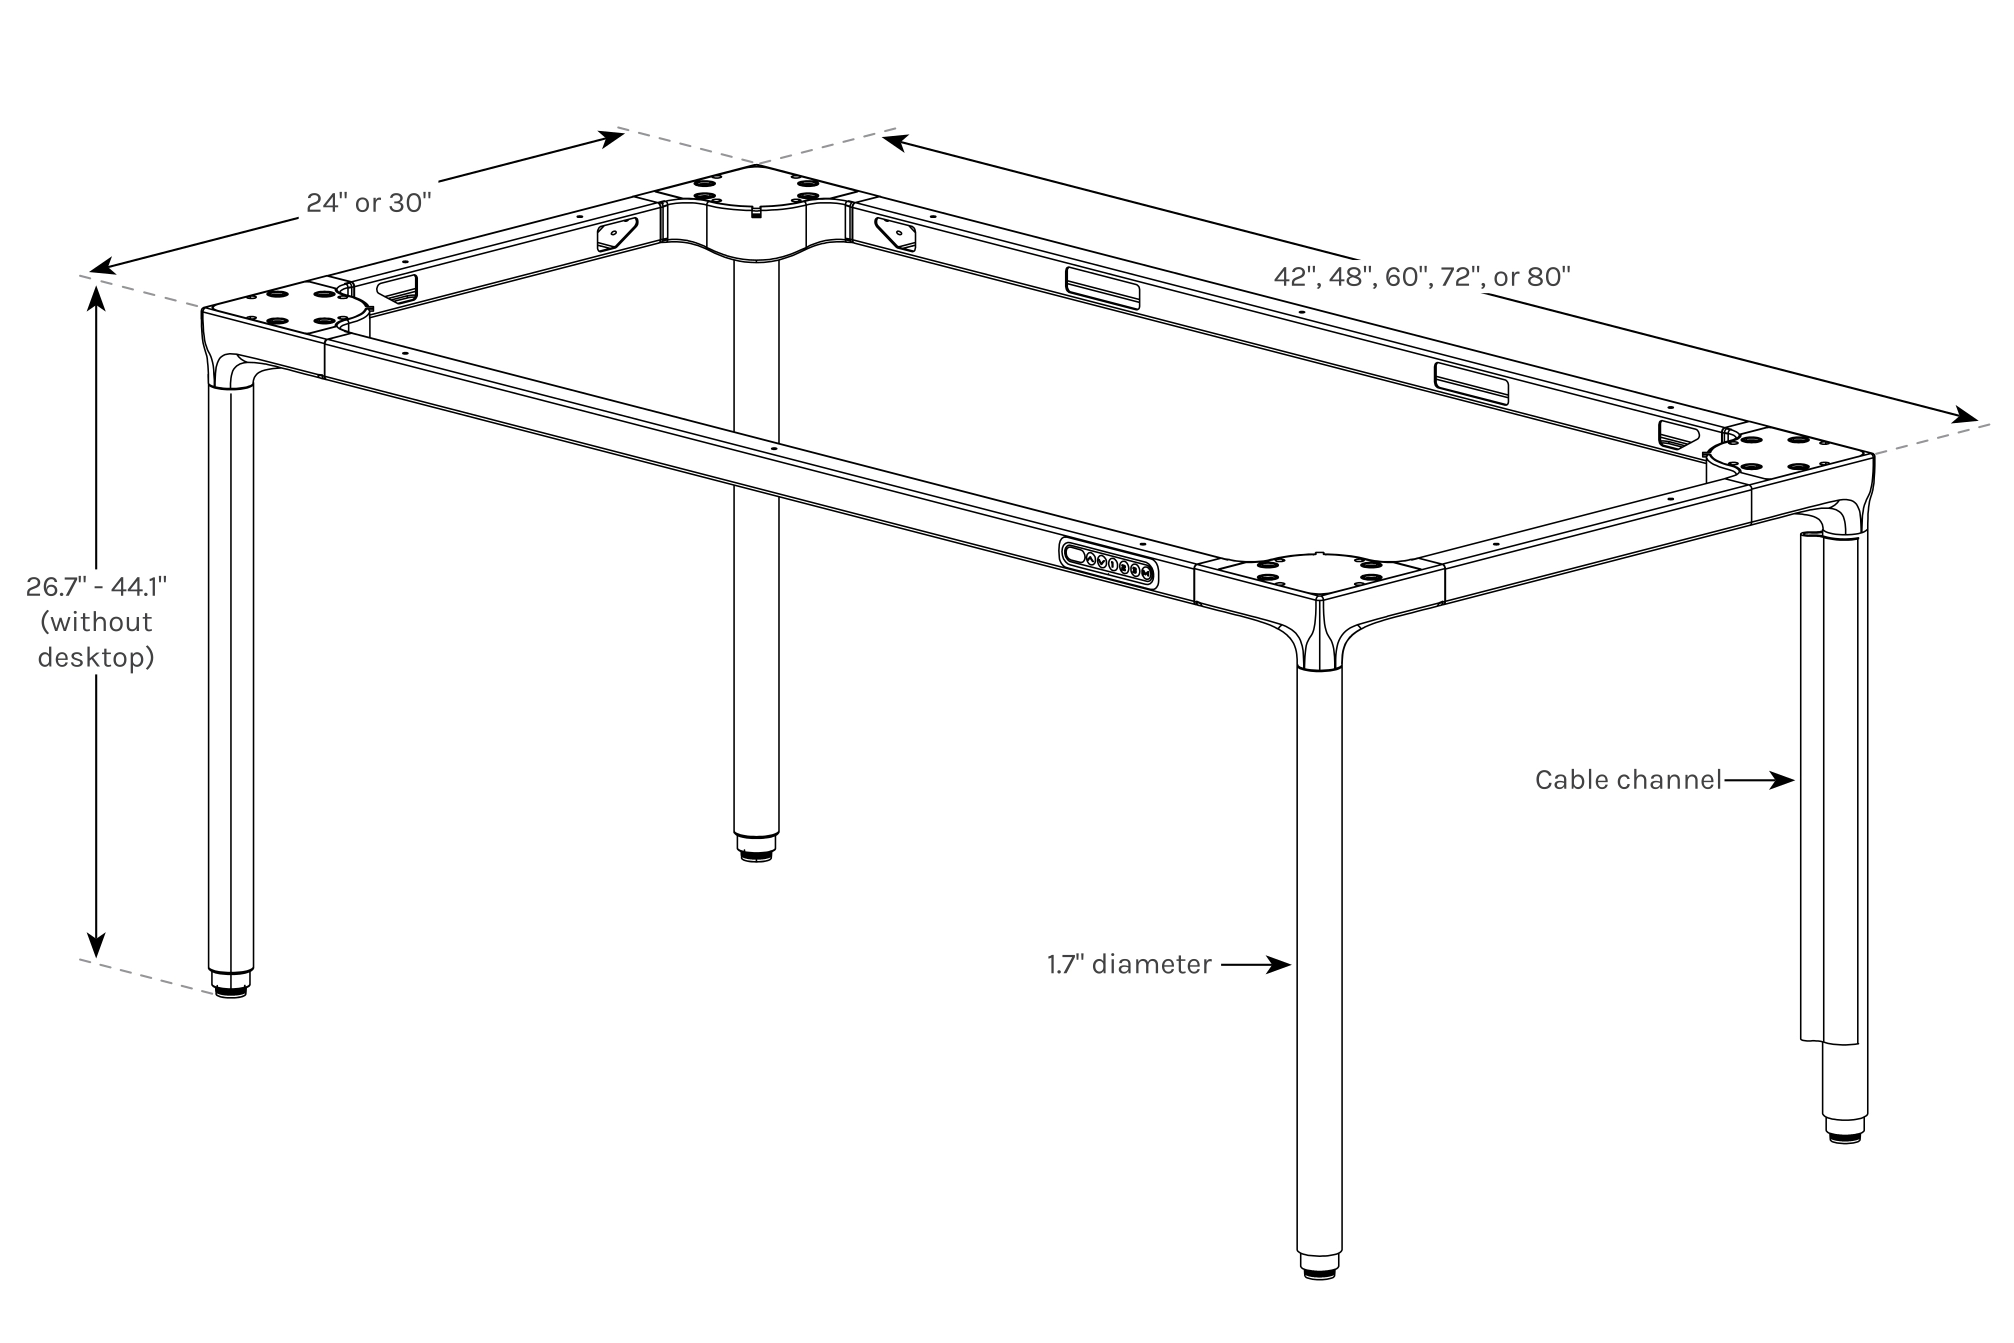
| Height Range | 26.7" to 44.1" (without desktop) |
| Desktop Sizes | 42", 48", 60", 72", or 80" wide; 24" or 30" deep |
| Leg Diameter | 1.7" |
| My Desktop | Acacia Butcher Block, 60" x 30" with grommets (upgrade) |
| Cable Channel | Built into rear crossbar |
| Warranty | UPLIFT Desk 15-year frame warranty |
| Keypad | 3 memory presets, up/down, M button |
| Assembly | Drill required, more screws and cables than typical standing desks |
| Leg Design | Tapered, furniture-style, discrete at standing height |
| Accessory Note | Frame sits flush to edge, limiting clamp-on accessory clearance |
Frequently Asked Questions
Do I need a drill to assemble the UPLIFT Parsons Standing Desk?
Yes. The frame mounts to the desktop with screws that require pilot holes, and those holes aren't pre-drilled. A standard cordless drill with a small bit is all you need, but if you don't have one, you'll want to pick one up before delivery day.
Is the Parsons assembly difficult?
It's not difficult, but it takes more time than you might expect from a standing desk. There are more screws, you need to drill pilot holes, and there are significantly more cables to route between the leg motors, control box, keypad, and power supply. Having a drill and reading the manual carefully before starting will save you time.
Does the UPLIFT Parsons Standing Desk look like a standing desk?
That's the whole selling point. The Parsons hides the lifting mechanism inside four tapered legs. From any angle, it looks like a piece of furniture. No visible C-frame, crossbar, or lifting columns. If your desk is in a shared space or living area, the Parsons blends in where a traditional standing desk wouldn't.
Can I mount the Parsons frame backwards?
You can, and I did. The frame looks nearly identical from either direction, so it's easy to mix up. Check the manual diagrams carefully before drilling pilot holes. If you catch it early, it's a quick fix. If you've already drilled, you'll need new pilot holes.
Can I use clamp-on desk accessories with the Parsons?
Some, but not all. The Parsons frame sits flush to the desktop edge, so accessories that need clearance underneath the edge (bottle openers, hooks, some monitor arm clamps) may not fit or will need to be positioned further back. Check the mounting requirements for your specific accessories before ordering.
What desktop options does the Parsons offer?
UPLIFT offers several desktop options for the Parsons frame. I configured mine with the Acacia Butcher Block upgrade (60" x 30" with grommets), which is a solid wood option. Solid wood desktops are heavier than laminate, so factor that into your setup plans if you go that route.
What's Coming Next
This unboxing covers the out-of-box experience and assembly. I'll be publishing a full UPLIFT Parsons review after a few weeks of daily use, covering:
- Stability at standing height under real working loads
- Motor noise during height adjustments
- Desktop durability after daily use (scratches, stains, wear)
- Cable management with the Parsons frame design
Related Guides
- Which UPLIFT Standing Desk Is Right for You?: Full UPLIFT lineup comparison
- UPLIFT V3 Standing Desk Unboxing: Unboxing UPLIFT's flagship desk
- Best Standing Desks Under $700: Budget alternatives
- Desk Cable Management: Setup Guide: Cable routing tips
- Best Ergonomic Desk Setup: Complete Guide: Full workstation walkthrough